HYROX Sled Pull Complete Guide: Technique, Grip Strength & Training Tips
If the sled push tests your legs, the sled pull tests your entire posterior chain and grip endurance. This is the station where forearms catch fire, backs seize up, and unprepared athletes watch the sled sit motionless at the end of a rope.
50 meters of hand-over-hand pulling. It sounds straightforward until you're standing there, lungs already burning from two runs and two stations, trying to drag 78-103 kg toward you with nothing but arm strength and willpower.
The sled pull is deceptively technical. Brute strength helps, but efficient technique and trained grip endurance are what separate fast times from disasters. In this guide, you'll learn exactly how to approach this station, what muscles to train, and how to build the grip strength that won't fail you at the worst moment.
What is the Sled Pull Station in HYROX?
The sled pull is Station 3 in HYROX. After completing your third 1km run (following the sled push), athletes use a rope to pull a weighted sled toward them across 50 meters.
Race Standards:
- Distance: 50 meters
- Men's Open Weight: 103 kg (227 lbs)
- Women's Open Weight: 78 kg (172 lbs)
- Position in Race: Station 3 (after third 1km run)
- Average Completion Time: 1:30-4:00 (varies wildly based on grip strength)
Key Difference from Sled Push: While the push uses your legs, the pull is almost entirely upper body and core. Your legs provide anchoring, but your arms and back do the work.
Sled Pull Muscles Worked: Full Breakdown
The sled pull is one of the most grip-intensive exercises in functional fitness. Here's what fires during those 50 meters:
Primary Muscles
- Forearms (Flexors and Extensors): The limiting factor for most athletes. Grip strength determines your pace.
- Biceps: Assist in every pulling motion as you bring the rope toward your body.
- Latissimus Dorsi: Primary back muscles driving the pull.
- Rear Deltoids: Power the initial pull at each hand change.
Secondary Muscles
- Core (Entire): Maintains stable seated/standing position while generating pulling force.
- Trapezius and Rhomboids: Retract the shoulder blades during each pull.
- Quadriceps: Brace against the ground if using a seated/braced position.
- Hip Flexors: Keep you anchored in position.
The Grip Factor
- Finger Flexors: Specifically targeted during continuous gripping.
- Brachioradialis: The forearm muscle that fatigues fastest during high-rep pulling.
Key Insight: The sled pull exposes grip weakness brutally. You might have the back strength to pull 200kg deadlifts, but if your forearms can't sustain 90+ seconds of continuous gripping, you'll stall.
Perfect Sled Pull Technique: Step-by-Step
There are two primary techniques for the sled pull. Choose based on your strengths:
Technique 1: Seated/Anchored Pull (Recommended for Most)
The Setup:
- Stand at the end of the rope with the sled 50m away
- Sit down or take a low squat/lunge position
- Plant your feet firmly—you're creating an anchor
- Lean back slightly, engaging your core
The Pull:
- Reach forward and grab the rope with both hands
- Pull the rope toward your chest/hips using your back and arms
- As one hand finishes the pull near your body, release and reach forward to grab fresh rope
- Hand-over-hand rhythm: Right pull, left reach. Left pull, right reach.
- Keep the rope tight—never let slack develop
Breathing:
- Exhale on each pull
- Quick inhale during the reach
- Don't hold your breath
Technique 2: Standing Backward Walk (Advanced)
When to Use: If you have exceptional grip strength and want to use your legs.
The Method:
- Stand facing the sled, rope in hands
- Pull the rope while walking backward
- Essentially "rowing" the sled toward you while moving
Pros: Uses legs to assist, can be faster for strong athletes.
Cons: Harder to maintain, uses more energy, risks tripping.
Recommendation: Most athletes should stick with the seated/anchored technique until they're hitting sub-2:00 times consistently.
Common Sled Pull Mistakes (And How to Fix Them)
Mistake #1: Losing Tension on the Rope
The Problem: Letting slack develop between pulls, which means you're constantly restarting the sled's momentum.
The Fix: Keep constant tension. Before one hand releases, the other should already be pulling. The rope should always be taut.
Mistake #2: Only Using Your Arms
The Problem: Pulling with your biceps instead of your entire back.
The Fix: Initiate each pull by squeezing your shoulder blades together first, then follow through with arm bend. Think "row" not "curl."
Mistake #3: Unstable Anchor Position
The Problem: Your body moves forward with each pull instead of the sled moving toward you.
The Fix: Dig your heels in. Plant them against a wall, a mat edge, or even the base of the rig if available. You need a solid anchor point to transfer force to the sled.
Mistake #4: Gripping Too Hard at the Start
The Problem: Crushing the rope in the first 10 meters and having nothing left by 30 meters.
The Fix: Start with a firm but not maximal grip. Let the rope slide slightly through your hands between pulls. You can squeeze harder in the final 15 meters.
Mistake #5: Short, Rapid Pulls
The Problem: Taking tiny pulls that move the sled inches at a time.
The Fix: Full arm extension to full retraction on each pull. Long pulls = fewer total pulls = less grip fatigue.
Mistake #6: Stopping to Rest
The Problem: Taking breaks mid-pull because your forearms are burning.
The Fix: Keep pulling. Even slow pulls maintain momentum. Stopping means the sled settles, and restarting takes more force. If you must rest, do it while maintaining rope tension.
Sled Pull Pacing Strategy for HYROX
First 15 Meters: Establish Rhythm
- Effort: 85%
- Goal: Find your hand-over-hand cadence without burning out
- Focus: Long pulls, constant tension, controlled breathing
Middle 25 Meters: Maintain Consistency
- Effort: 90%
- Goal: Don't slow down, don't speed up
- Focus: Watch the rope; adjust pace if grip starts failing early
Final 10 Meters: Push Through
- Effort: 100%
- Goal: Finish strong, knowing a run comes next
- Focus: Shorter, faster pulls if needed—you can recover on the run
Pro Tip: The sled pull is not the station to conserve energy. It's short and intense. Go hard, finish, and use the next 1km run for recovery.
Grip Strength Training for Sled Pulls
Your grip will fail before your back does. Train it specifically:
1. Dead Hangs
- Why It Works: Builds time-under-tension grip endurance
- Protocol: 3 sets of max time, aim for 60+ seconds
2. Farmer's Walks
- Why It Works: Dynamic grip training under load
- Protocol: 4 x 50m with heavy dumbbells or kettlebells
3. Towel Pull-Ups
- Why It Works: Forces finger and forearm engagement
- Protocol: 3 sets of max reps
4. Plate Pinches
- Why It Works: Develops finger strength specifically
- Protocol: Pinch two 10lb plates together, hold for max time x 3 sets
5. Rope Climbs
- Why It Works: Direct transfer to rope-based grip demands
- Protocol: 3-5 rope climbs, focus on controlled descent
6. Wrist Curls and Reverse Wrist Curls
- Why It Works: Builds forearm muscles directly
- Protocol: 3 sets of 15-20 reps each direction
Sled Pull Alternatives for Training
No sled? No problem. These exercises build the same pulling strength and grip endurance:
1. Seated Cable Rows (High Rep)
- Why It Works: Mimics the pulling pattern and builds back endurance
- Protocol: 4 sets of 20-25 reps at moderate weight
2. Band-Resisted Rope Pulls
- Why It Works: Attach a resistance band and rope to a rig; pull hand-over-hand against the band
- Protocol: 5 x 30-second pulls with moderate resistance
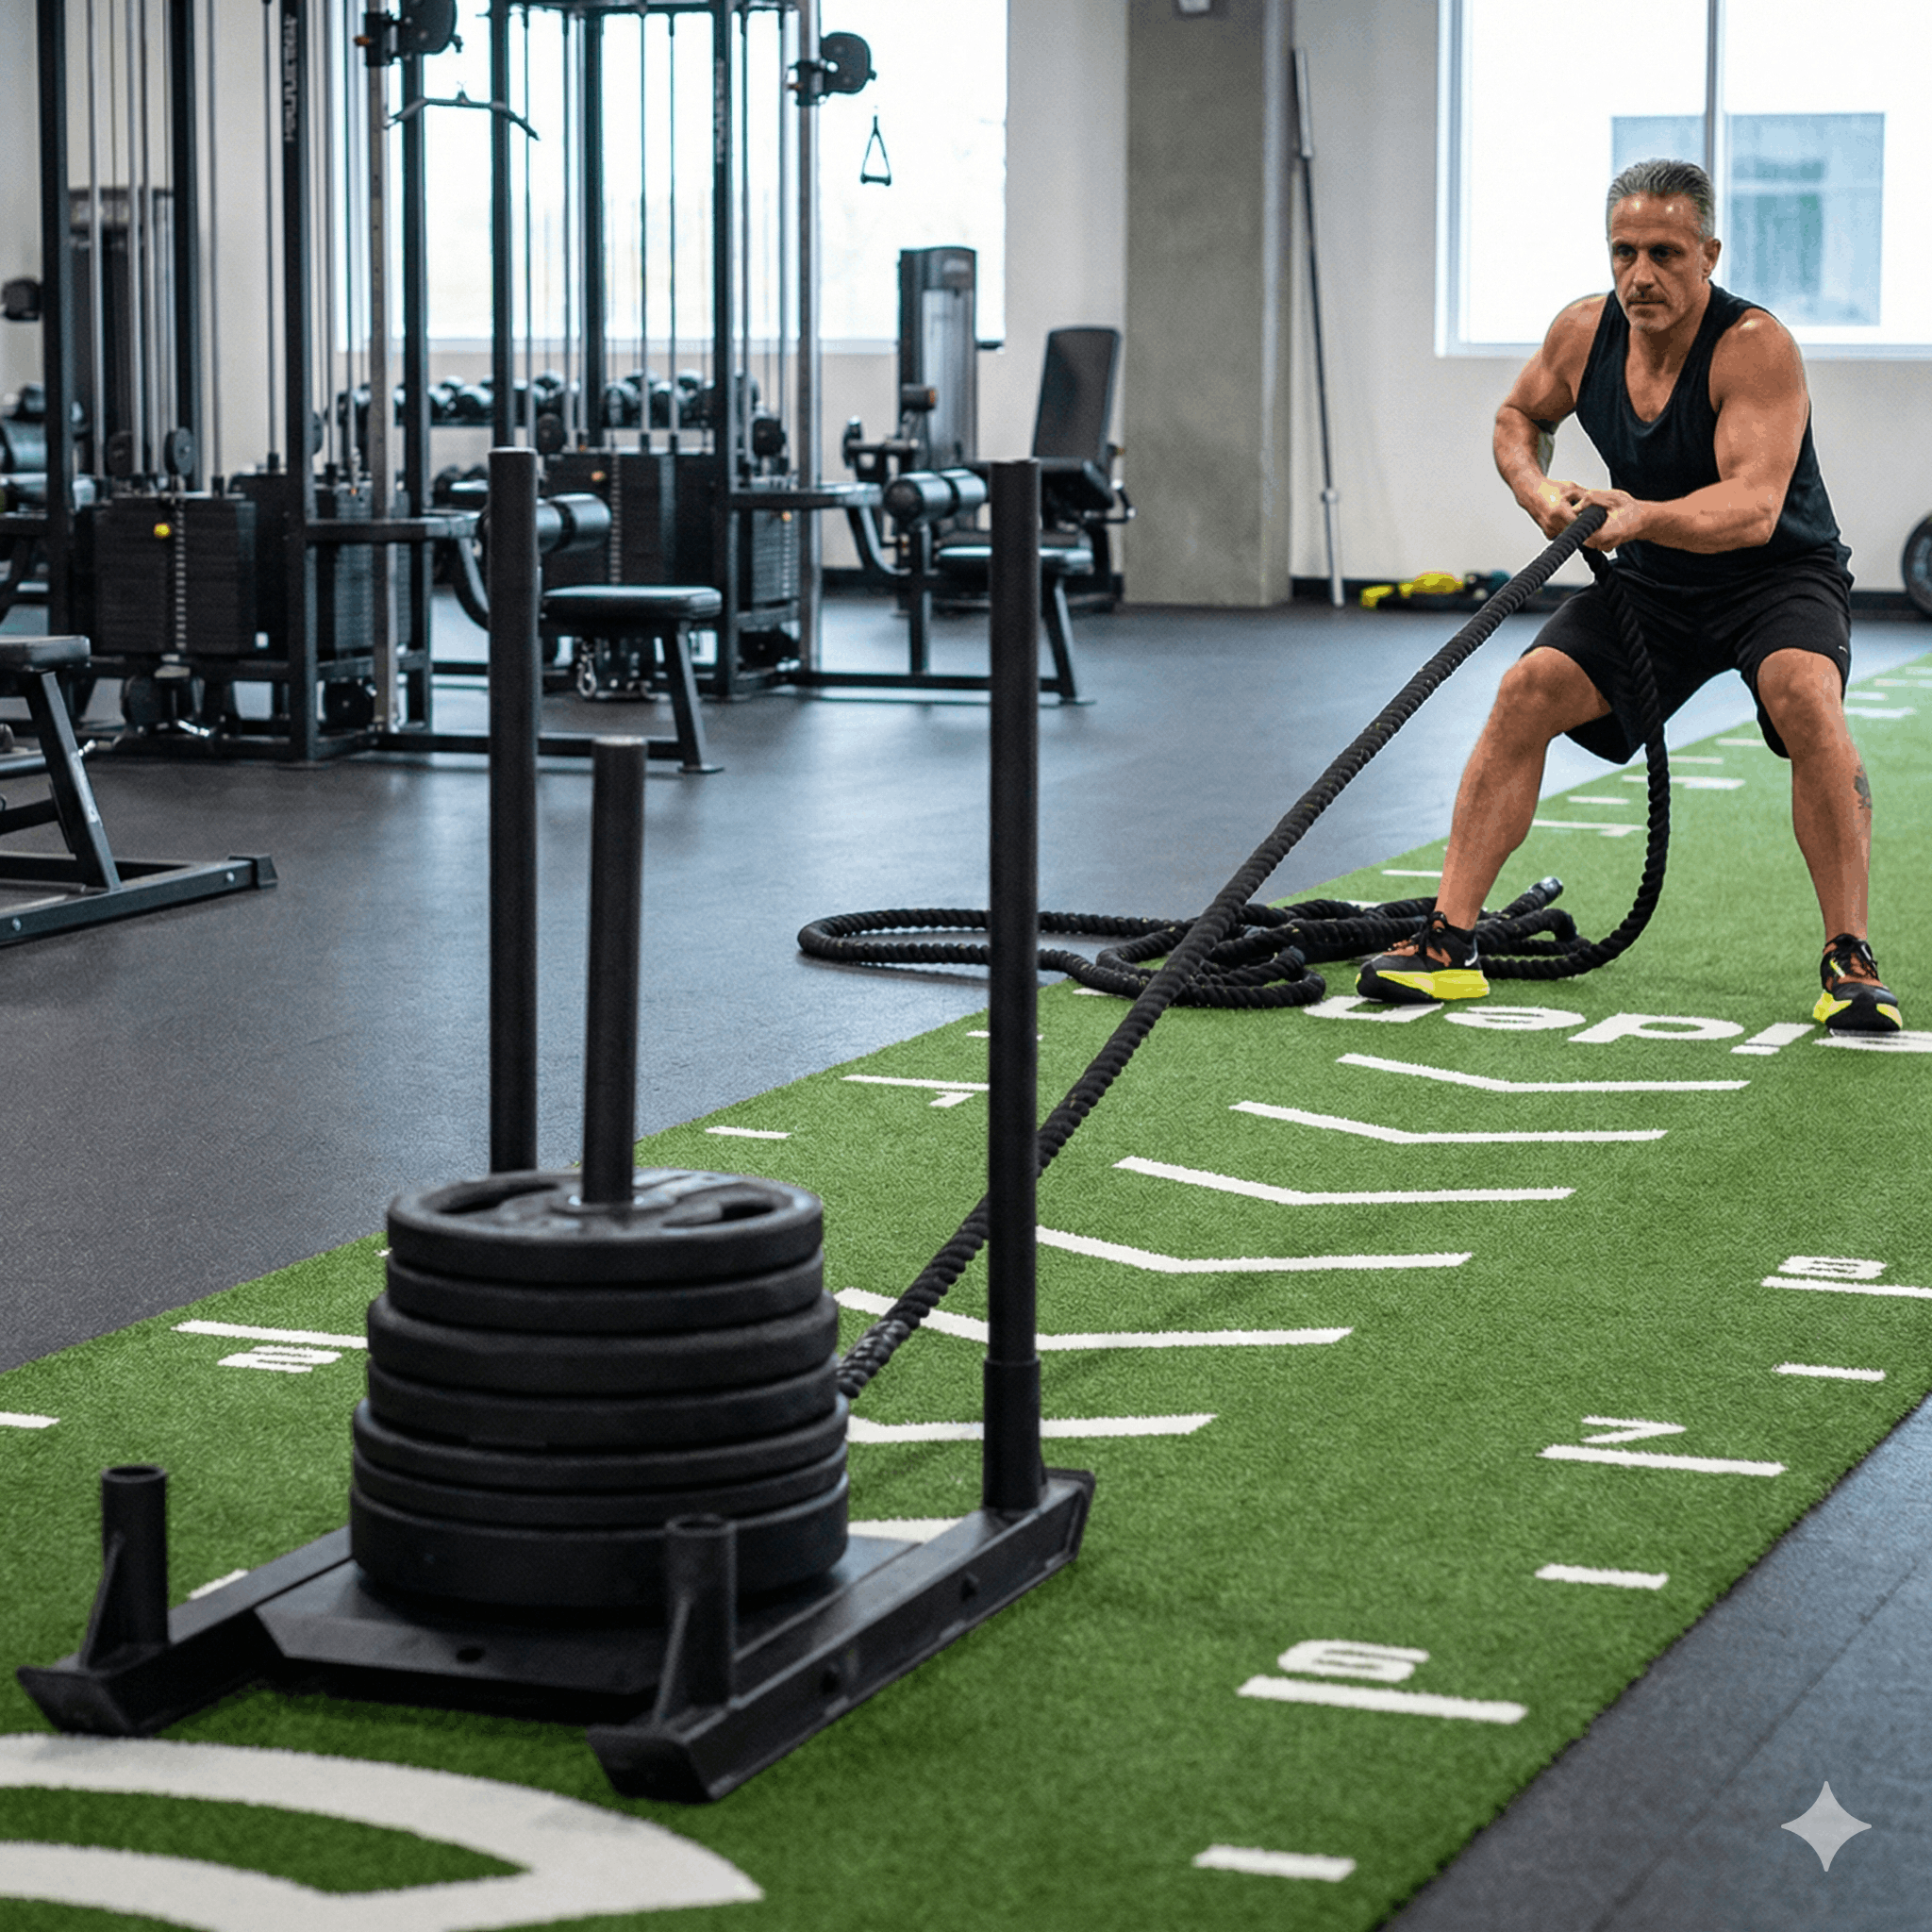
3. Battle Ropes (Pull-In Pattern)
- Why It Works: Trains arm endurance and grip
- Protocol: Lay rope out straight, pull hand-over-hand toward you x 10 rounds
4. Inverted Rows
- Why It Works: Horizontal pulling that targets lats and grip
- Protocol: 4 sets of 15-20 reps
5. Deadlifts (Grip-Focused)
- Why It Works: Double-overhand grip deadlifts challenge grip under heavy load
- Protocol: Work up to a heavy double-overhand max
6. Sledgehammer Levering
- Why It Works: Builds forearm and wrist strength
- Protocol: Hold sledgehammer by end, lever up and down x 3 sets of 10 each direction
Sled Pull Training Workouts for HYROX
Workout 1: Grip Capacity
- 5 rounds:
- 30-second Dead Hang
- 20 Seated Cable Rows
- 30-second Rest
- Goal: Build grip endurance under fatigue
Workout 2: Race Simulation (Stations 1-3)
- 1km Run
- 1000m SkiErg
- 1km Run
- 50m Sled Push
- 1km Run
- 50m Sled Pull
- Track total time and pull split
Workout 3: Pulling Power (No Sled)
- 4 rounds for quality:
- 10 Towel Pull-Ups
- 15 Bent-Over Rows
- 30-second Farmer's Carry (heavy)
- Rest 90 seconds
Workout 4: Endurance Builder
- AMRAP 15 minutes:
- 20 Cable Rope Face Pulls
- 15 Ring Rows
- 10 Bicep Curls
Train for HYROX Anywhere
The sled pull is one of the hardest stations to replicate in a standard gym. Specialized equipment, long ropes, and open space are rare.
OnlyGains.ai bridges this gap. When you tell the AI what equipment you have access to, it creates HYROX simulation workouts using smart alternatives. Band pulls, cable stacks, and grip circuits replace the sled while building identical strength and endurance.
The platform generates unlimited free HYROX training sessions—no sled required. You show up to race day with the grip strength and back endurance to pull that sled like it's on ice.
Sled Pull Benchmarks: Where Do You Stand?
| Level | 50m Time (Men's 103kg) | 50m Time (Women's 78kg) |
|---|---|---|
| Elite | Under 40 seconds | Under 35 seconds |
| Advanced | 40-70 seconds | 35-60 seconds |
| Intermediate | 1:10-2:00 | 1:00-1:45 |
| Beginner | 2:00-3:00 | 1:45-2:45 |
| First-Timer | 3:00+ | 2:45+ |
Note: Grip strength is the primary limiter. If your times are slow, focus on forearm training.
The Mental Battle: When Your Grip Fails
At some point in the sled pull, your forearms will scream. They'll feel like they're filled with cement. The rope will feel impossible to hold.
This is the moment that defines your race.
Strategies for pushing through:
- Shorter pulls: If you can't do full-length pulls, do half-length pulls faster.
- Shake it out (while moving): Quickly open and close your hands between grabs to restore blood flow.
- Use your body: Lean back more aggressively to let your body weight help.
- Focus on the rope, not the sled: Don't look at how far the sled still has to travel. Watch the rope disappear into your hands.
Final Thoughts: Build the Grip, Master the Pull
The sled pull rewards athletes who respect it. Strong deadlifters have been humiliated by this station because they ignored grip training. Meanwhile, climbers and CrossFitters who train grip endurance cruise through.
Key Takeaways:
- Constant tension—never let slack develop in the rope
- Use your back—not just your arms
- Anchor solidly—plant your feet and lean back
- Train your grip—it's probably your weakest link
- Practice alternatives—they transfer well to race day
The sled pull is a 90-second test of grip endurance. Train your forearms like your race depends on it—because it does.
Ready to build your HYROX-ready grip? OnlyGains.ai creates customized training programs that target your weaknesses, including grip strength. With unlimited free HYROX simulations, you'll never wonder if you're training the right things again.